---
title: 在 Sealos 上部署 LobeChat 数据库版
description: 学习如何在 Sealos 上部署 LobeChat,包括准备 OpenAI API Key、点击部署按钮、绑定自定义域名等操作。
tags:
- Sealos
- LobeChat
- OpenAI API Key
- 部署流程
- 自定义域名
---
# 使用 Sealos 部署 LobeChat 数据库版
本文假设你已经熟悉 Lobe Chat
服务器数据库版的部署基本原理和流程,因此只包含与核心环境变量配置相关的内容。如果你对 Lobe Chat
服务器数据库版的部署原理不熟悉,请先参考[部署服务器数据库](/zh/docs/self-hosting/server-database)。
在 Sealos 的 Lobe Chat 数据库版应用中总共包含有以下四个服务:
- Logto 提供身份校验(需额外部署)
- 带有 Vector 插件的 PostgreSQL 来做数据存储和向量化
- 一个对象存储 Bucket
- LobeChat Database 的实例
这里是在 Sealos 上部署 Lobe Chat 服务器数据库版的流程:
## 预部署配置
在开始部署之前,您需要完成以下配置:
### 部署 Logto 服务
点击下方按钮部署一个 Logto 服务:
[](https://template.hzh.sealos.run/deploy?templateName=logto)
> Logto 是一个开源的身份与访问管理(IAM)平台,是 Auth0 的开源替代方案,旨在帮助开发者快速构建安全、可扩展的登录注册系统和用户身份体系。
部署完成后,等待应用的所有组件状态都变成“运行中”,点击应用的【详情】按钮,进入应用详情页面。
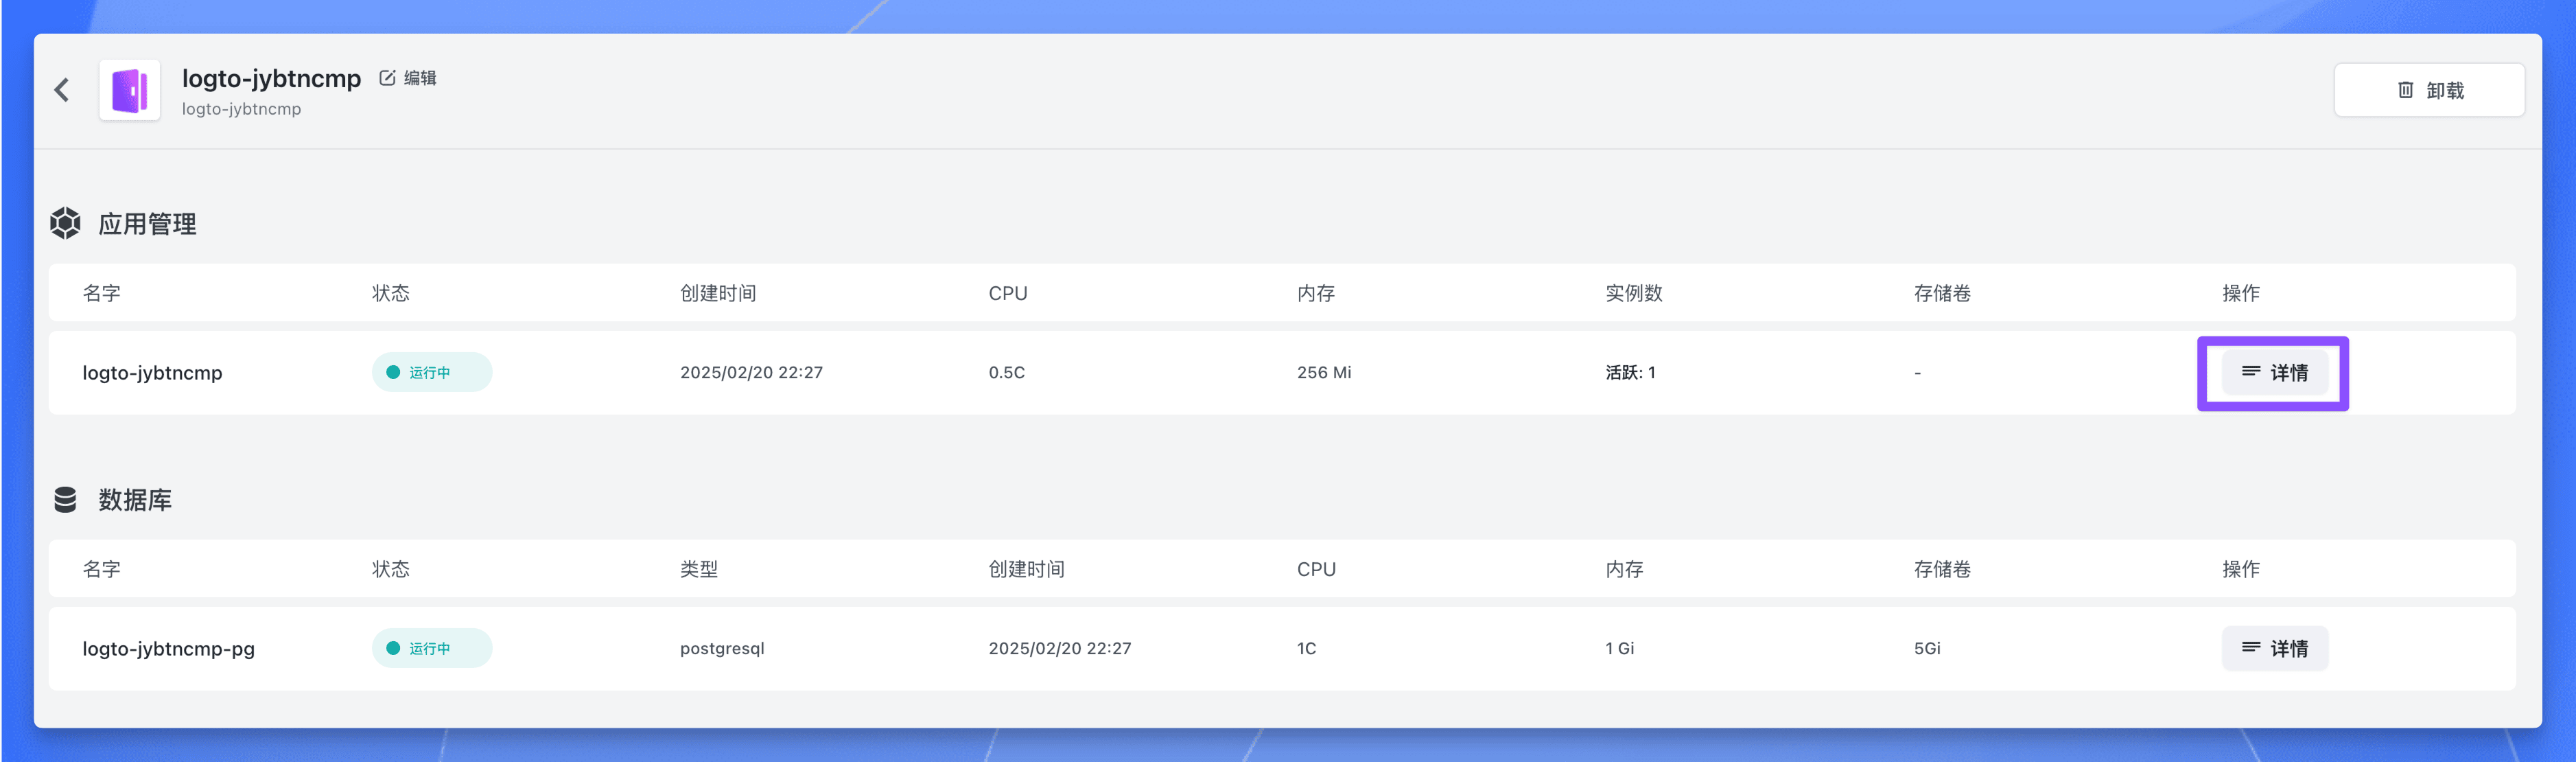
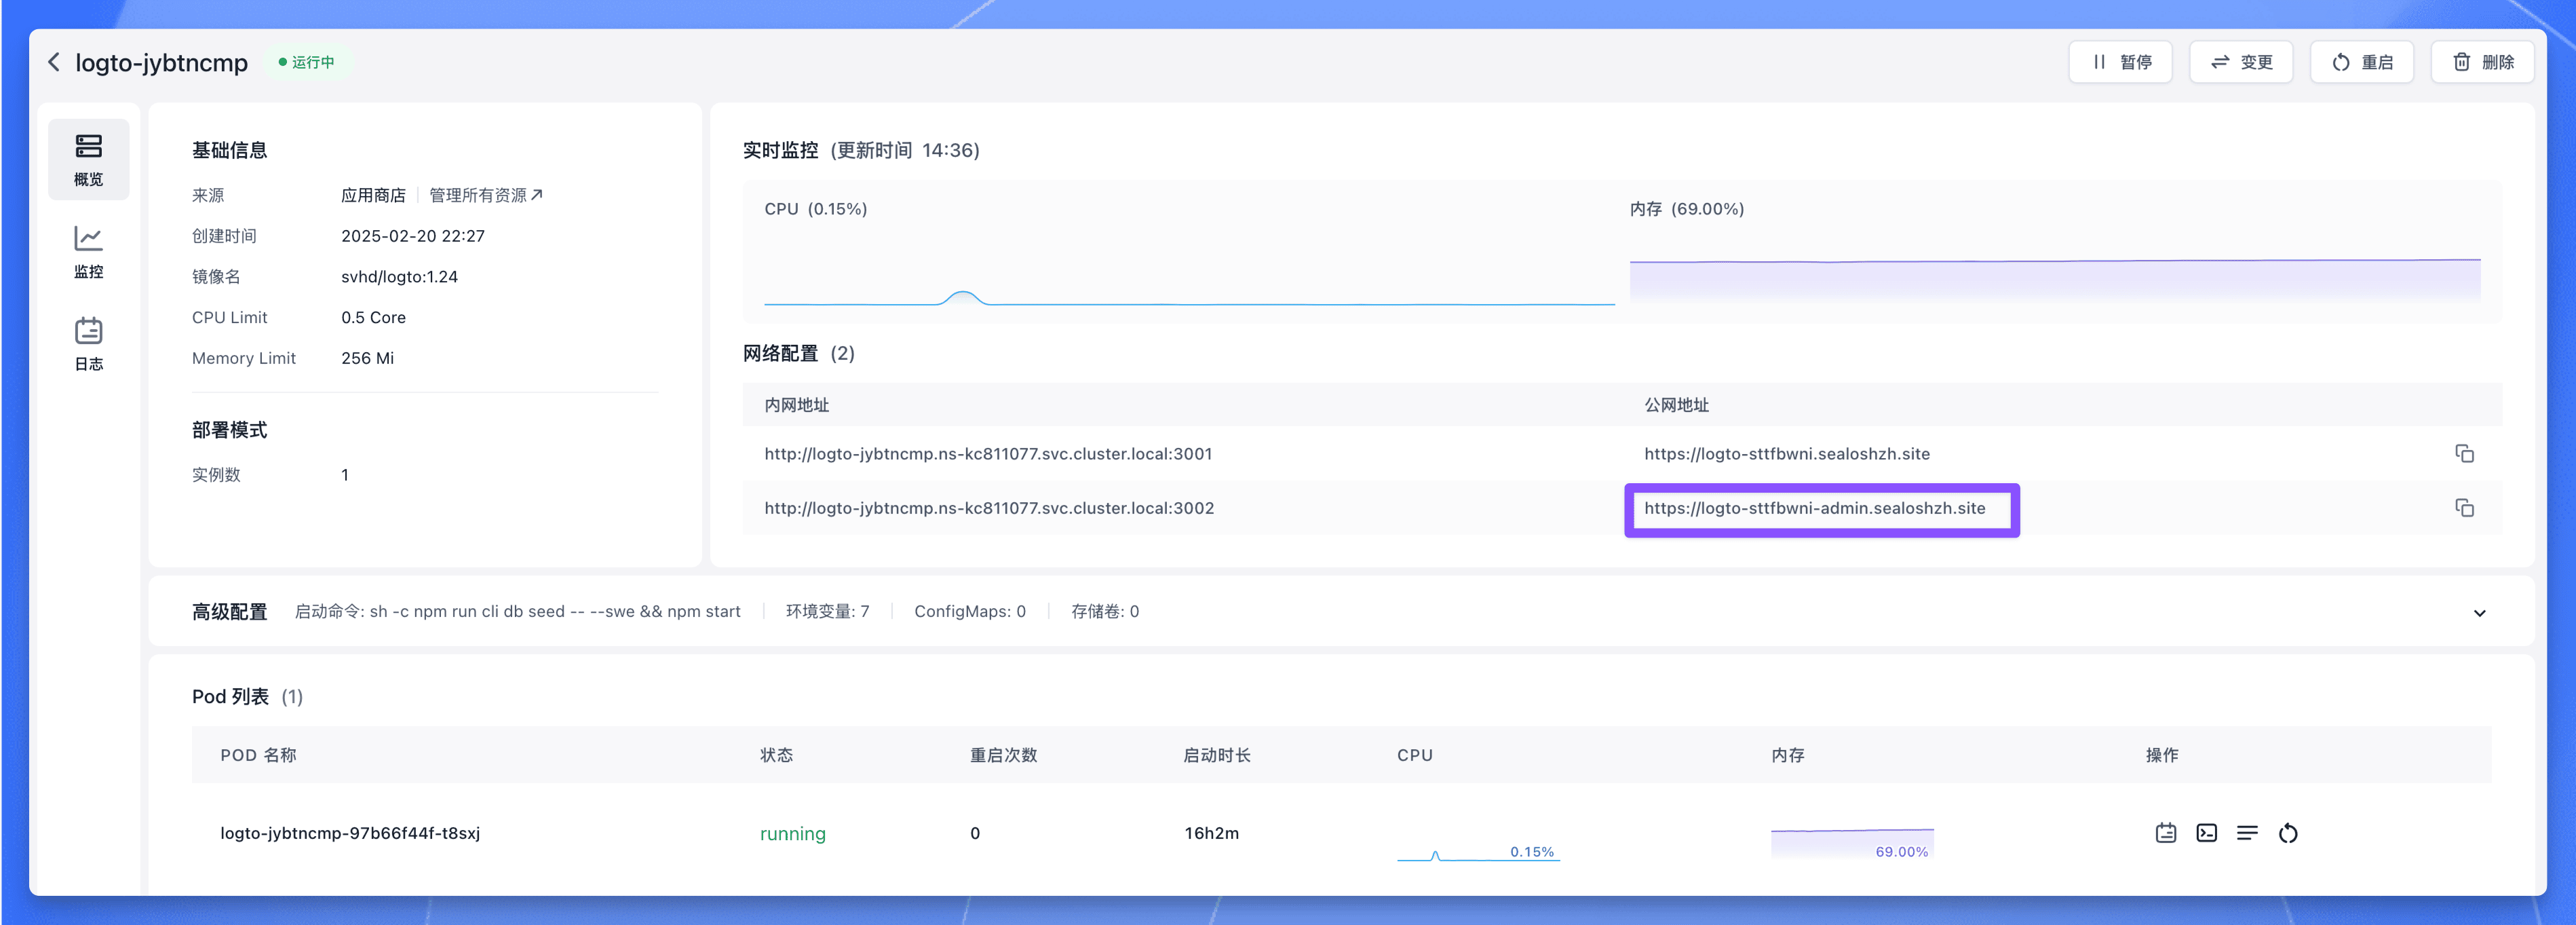
点击 3002 端口对应的公网地址,即可使用公网域名访问 Logto 服务。
### 创建 Application
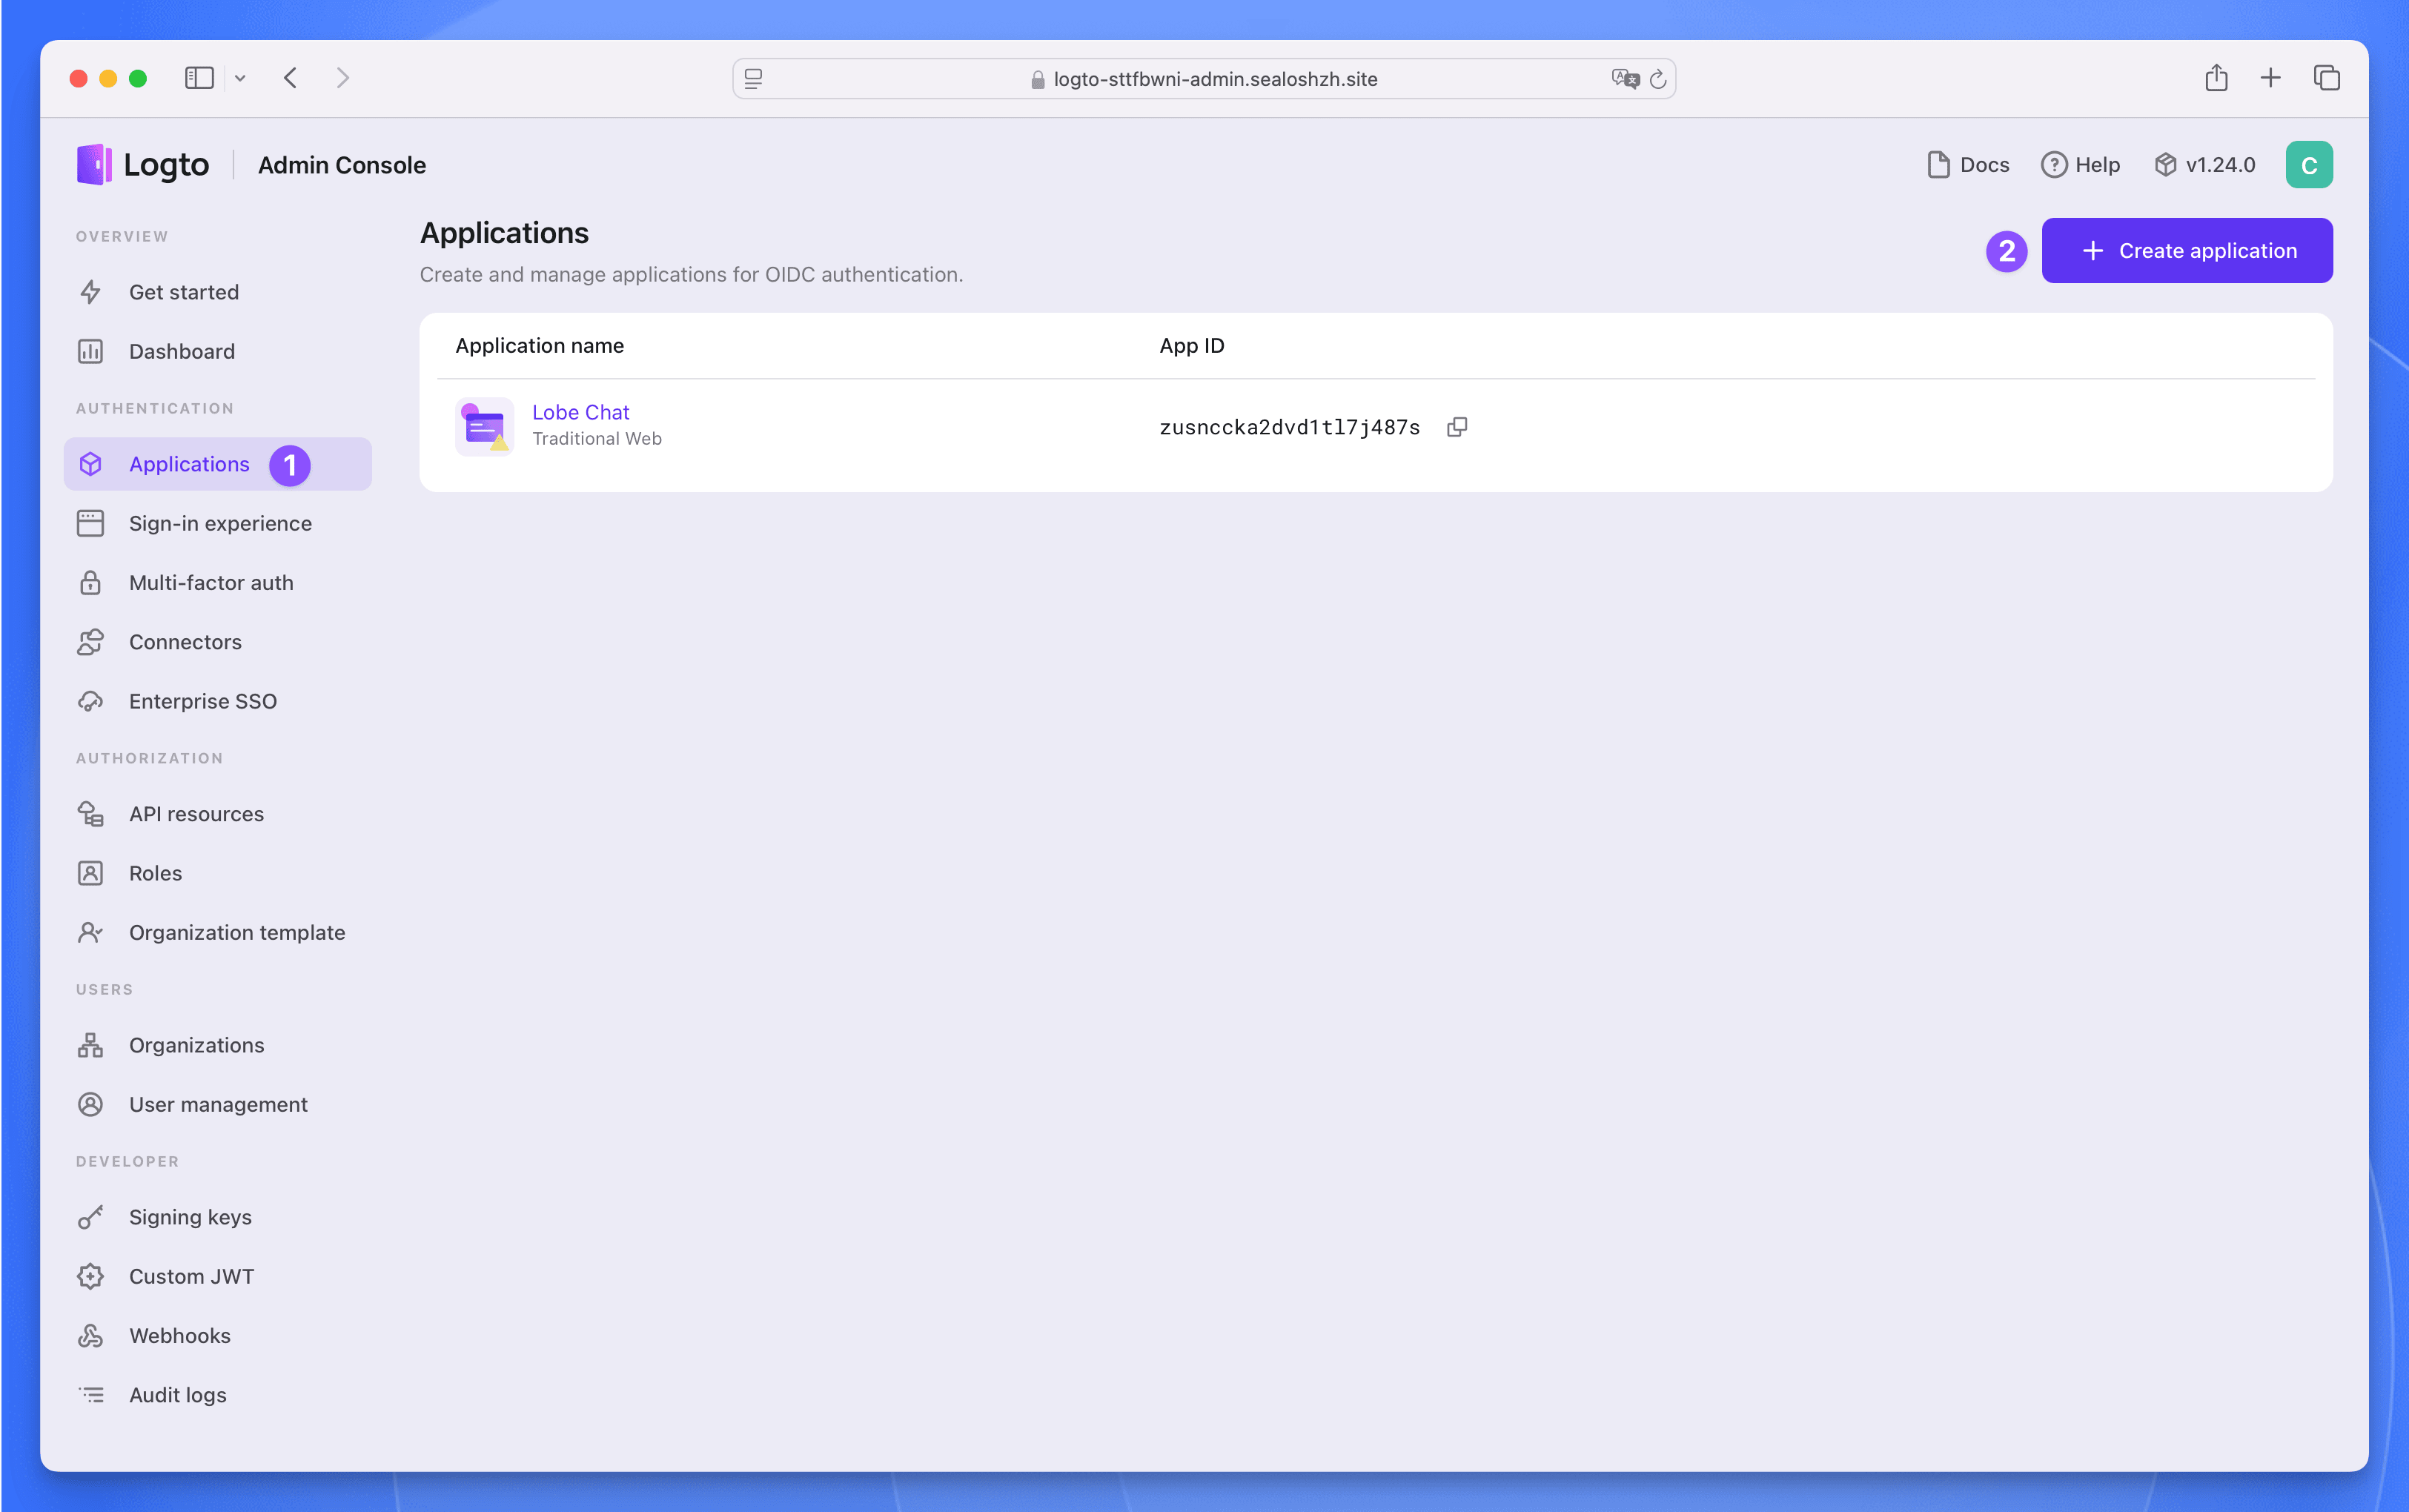
注册一个管理员账号,然后点击左侧的 `Applications` 菜单,进入应用列表页面。再点击右上角的 `Create application` 按钮创建应用。
选择 `Next.js (App Router)` 作为框架,然后点击 `Start building` 按钮。
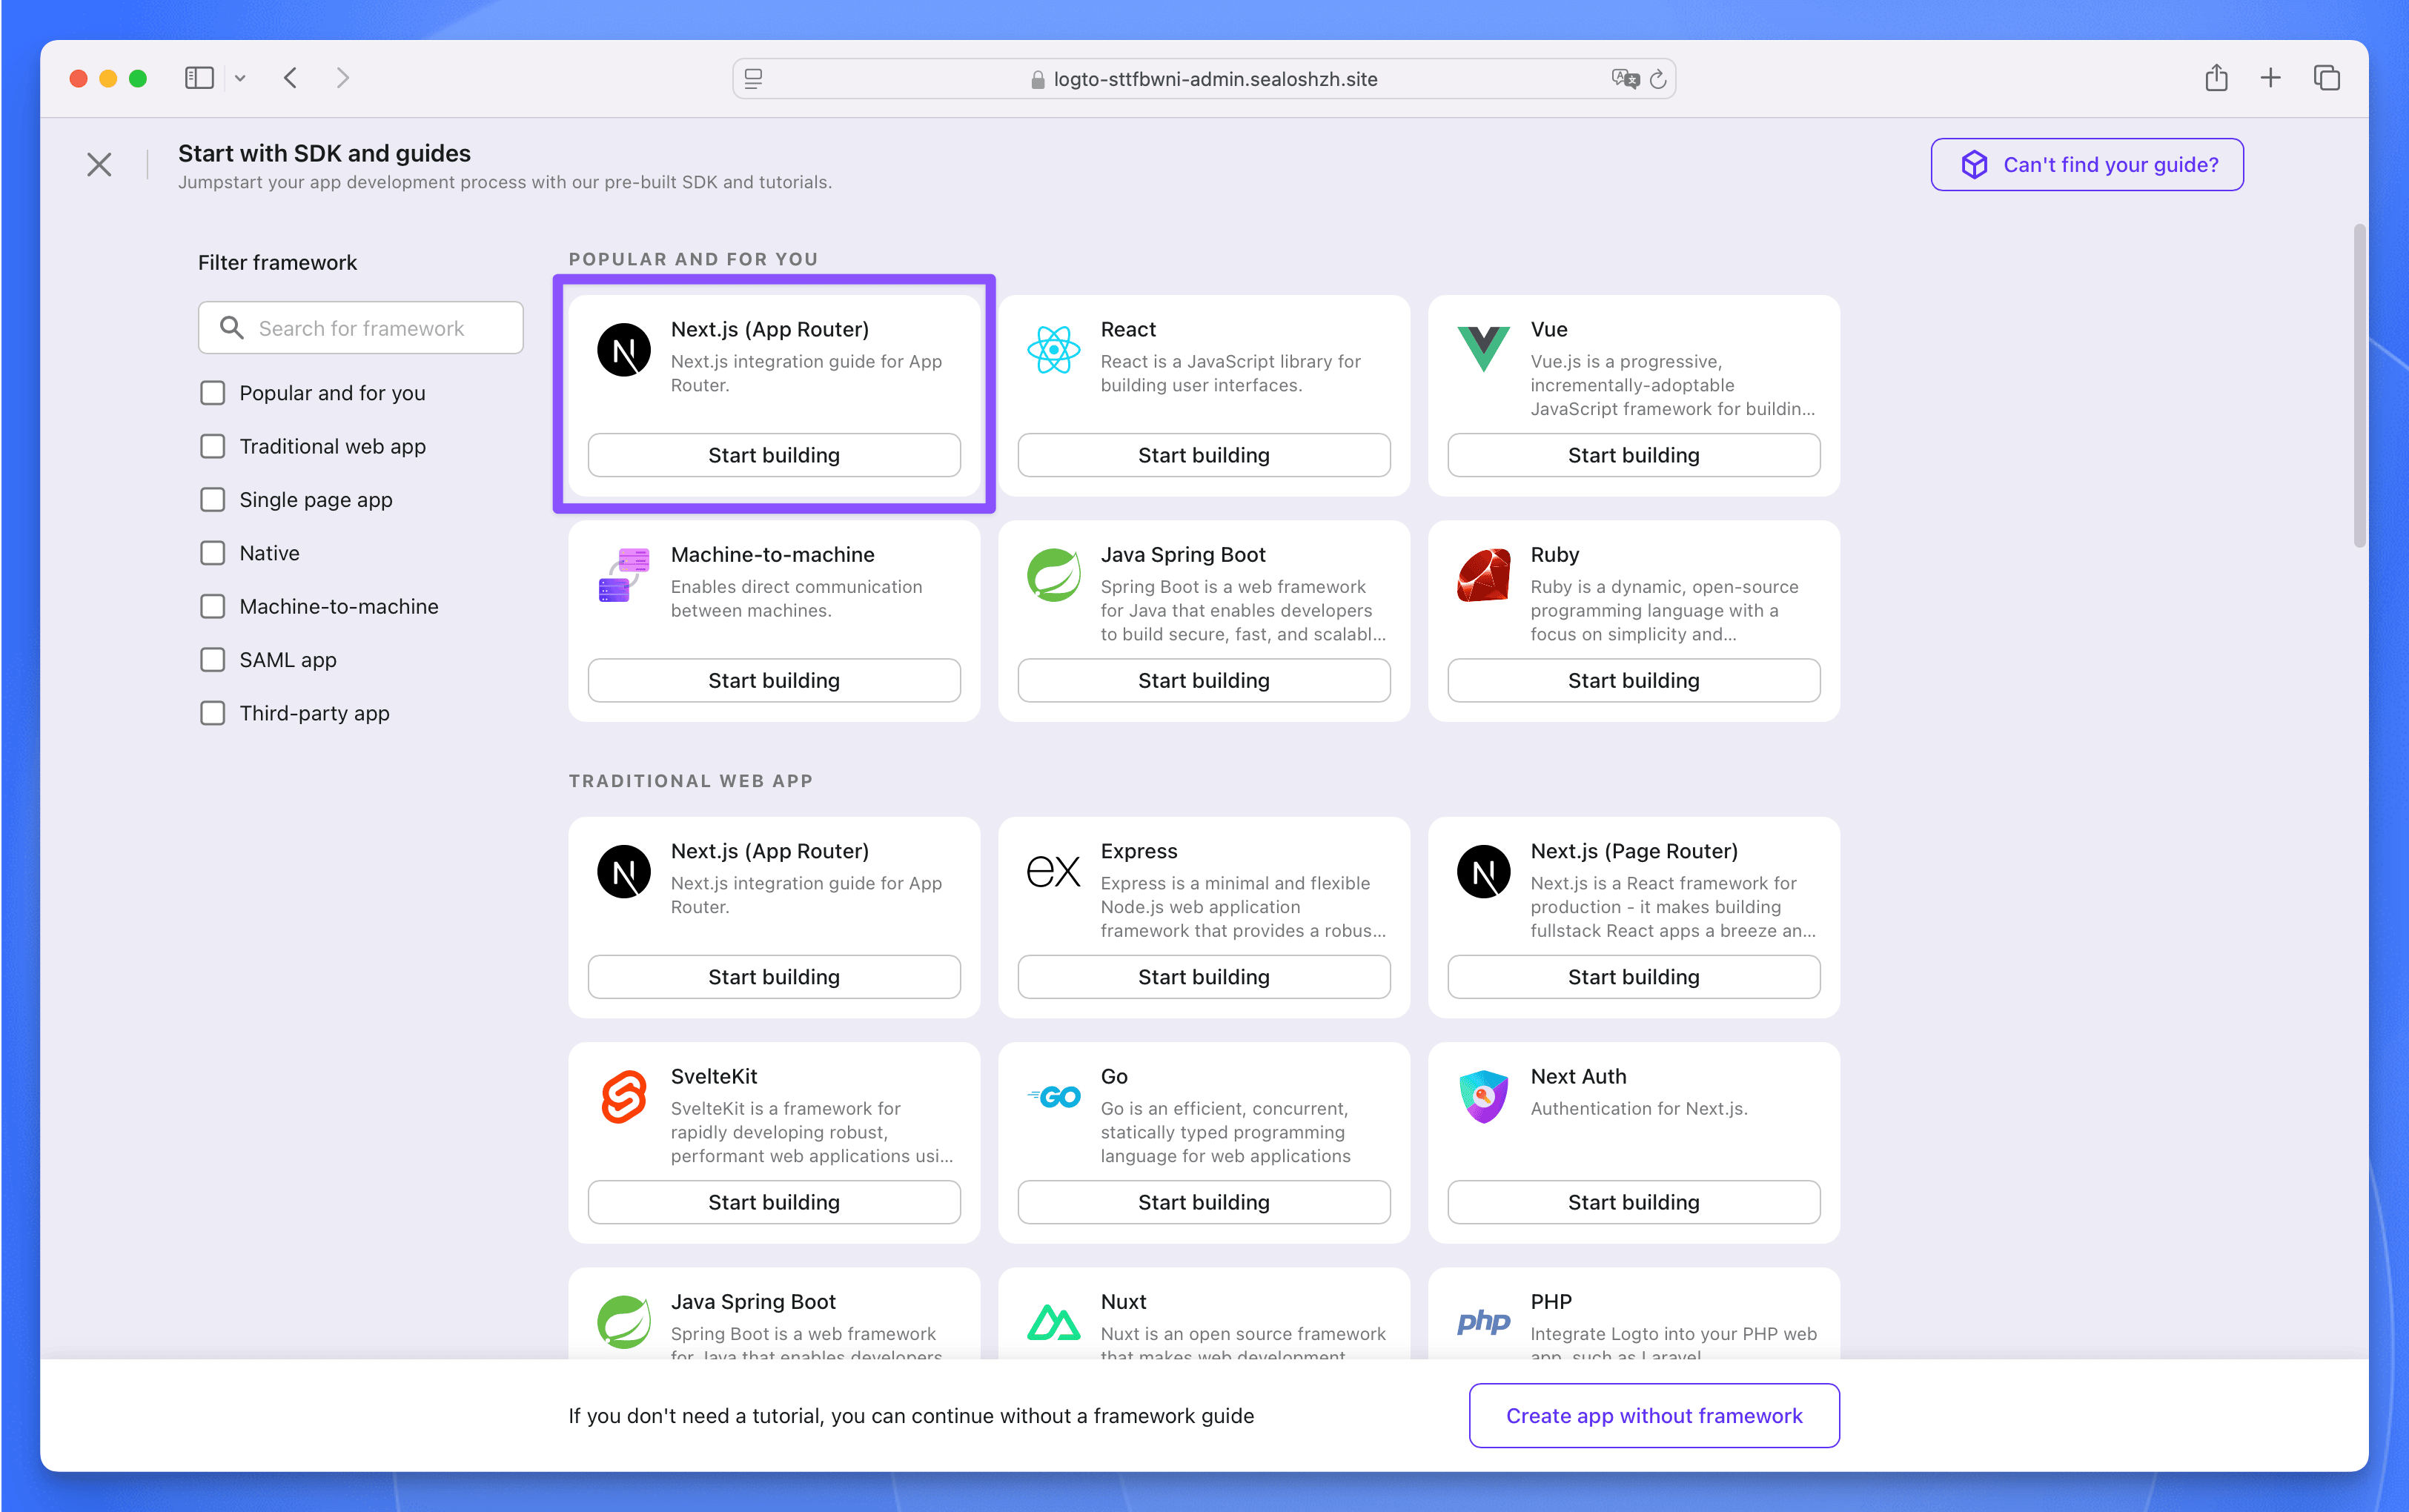
在弹窗中填写应用的名称为 `Lobe Chat`,然后点击 `Create application` 按钮。接下来啥也不用填,直接点击底部的 `Finish and done` 按钮就创建完成了。

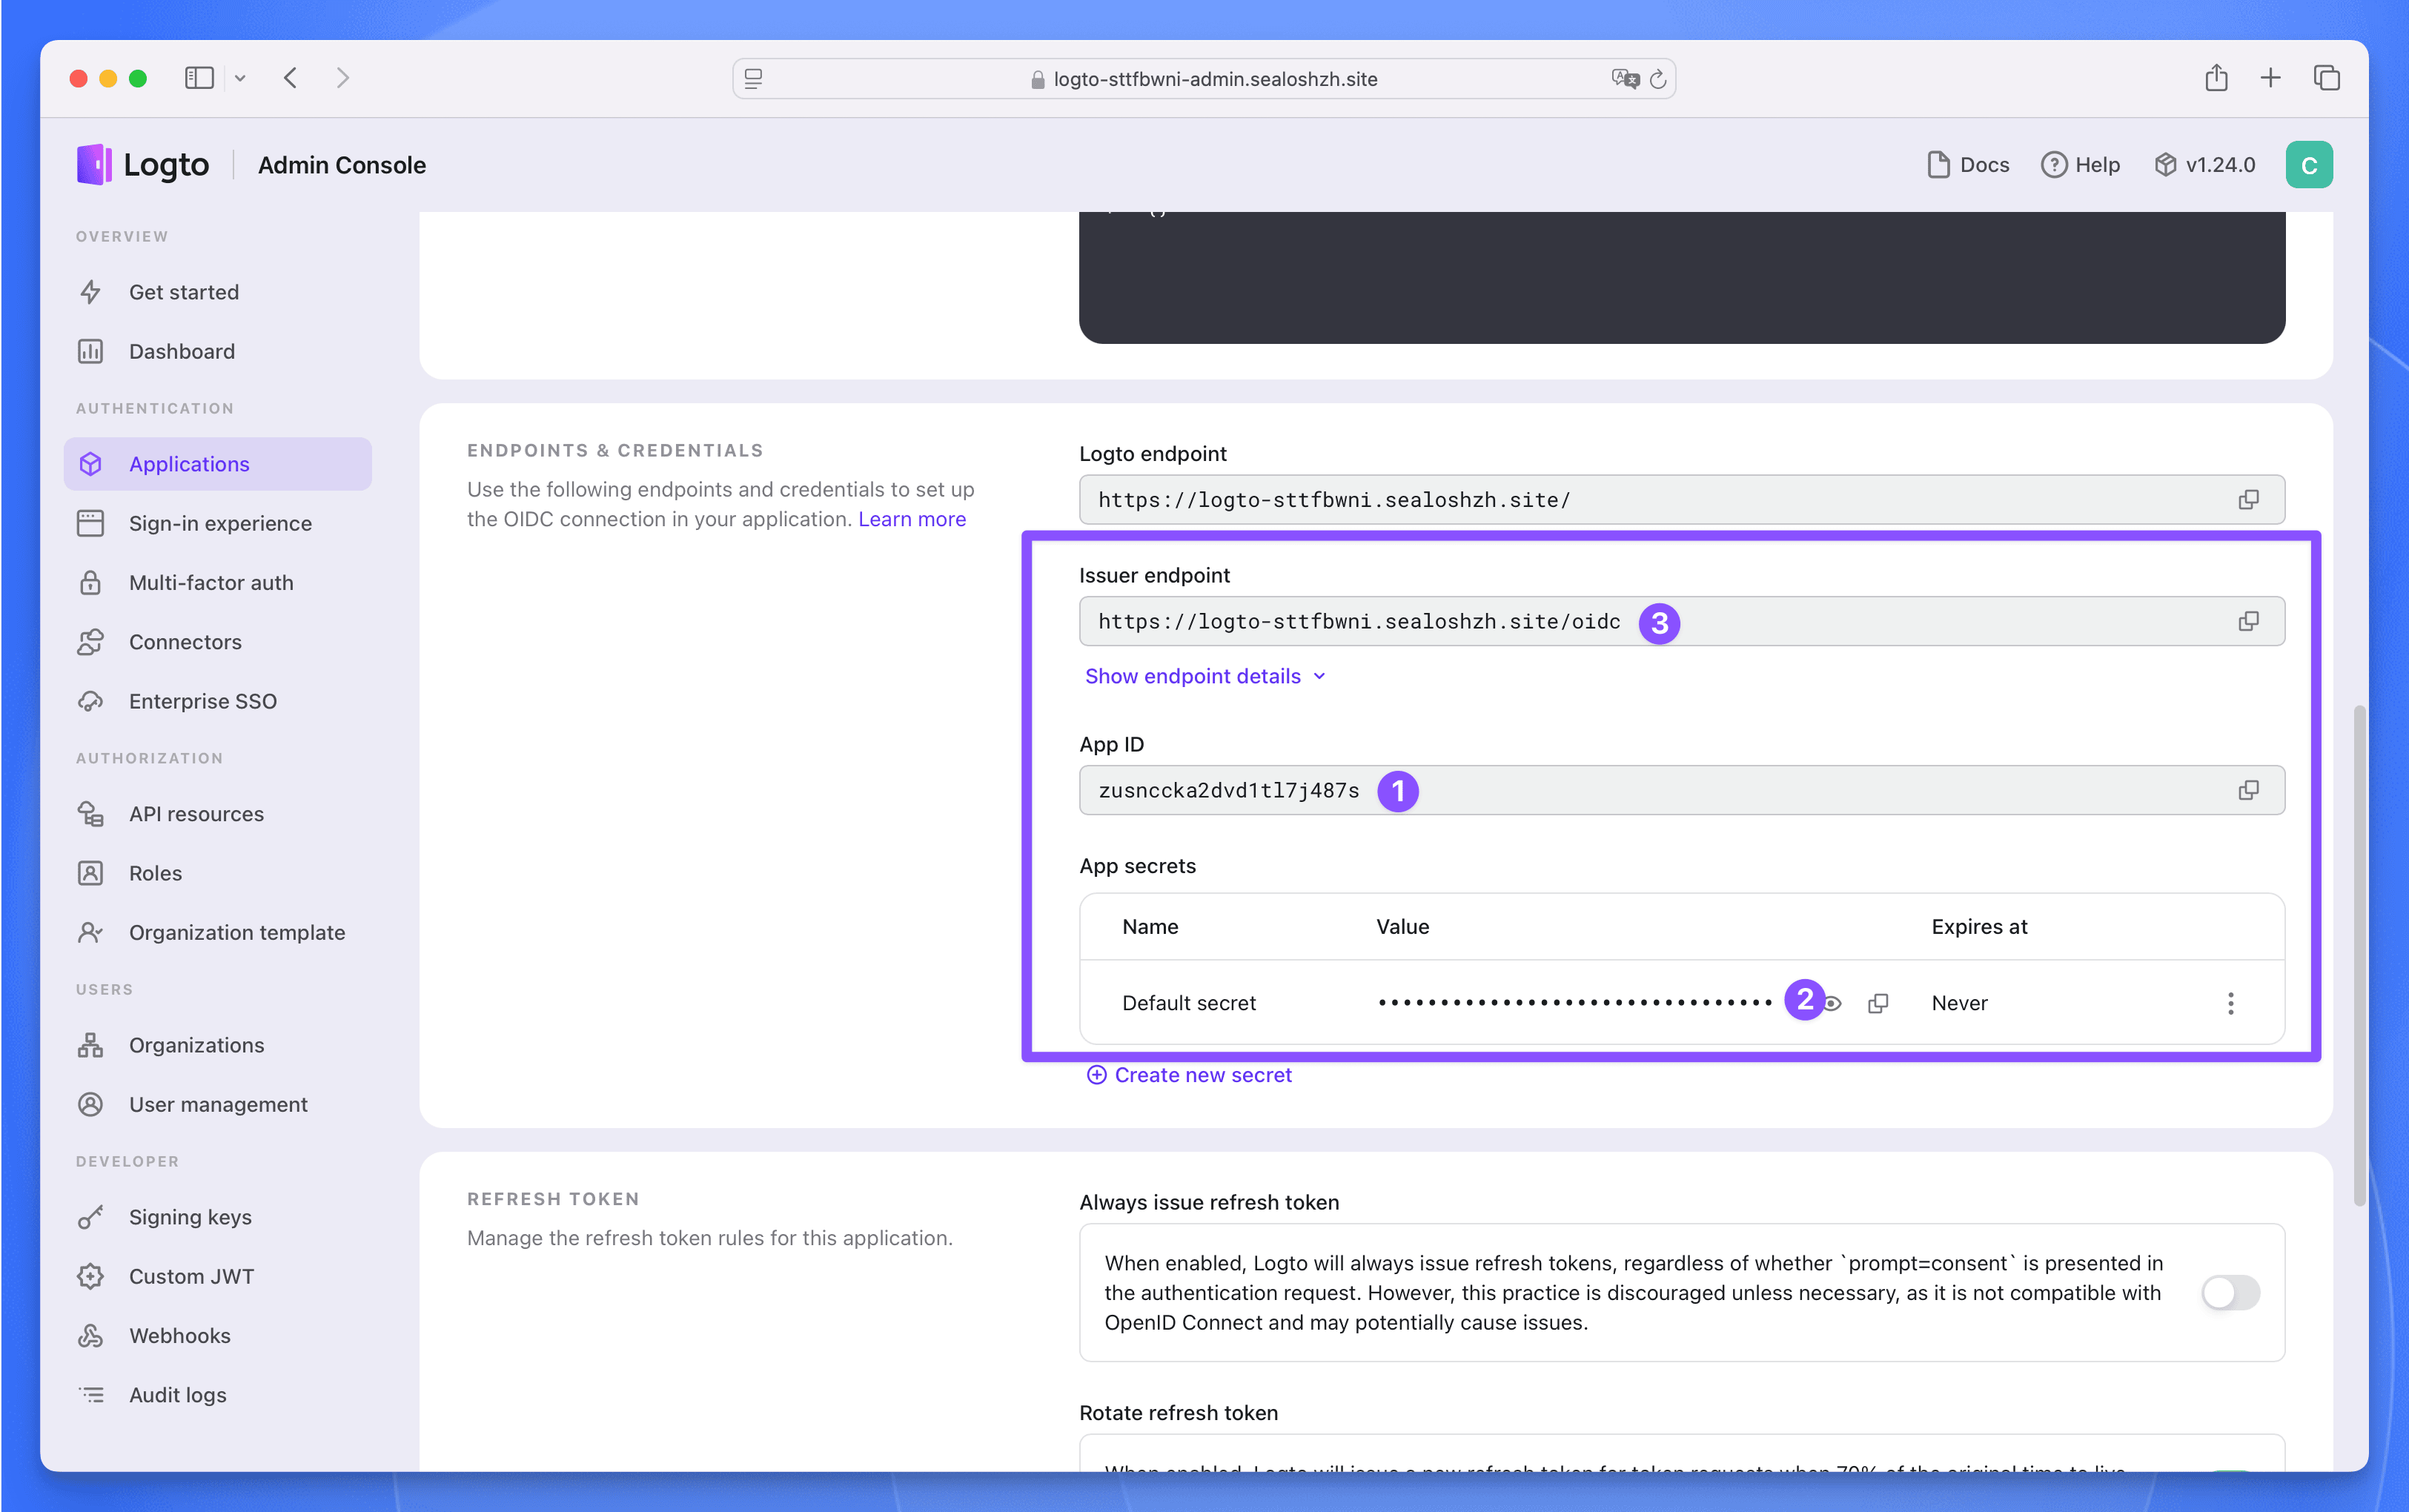
在 `Lobe Chat` 应用中找到以下三个参数,后面部署 Lobe Chat 数据库版时需要用到。
## 部署 Lobe Chat 数据库版
点击下方按钮访问 Lobe Chat 数据库版应用部署页面:
[](https://template.hzh.sealos.run/deploy?templateName=lobe-chat-db)
填入三个必填参数:
- `AUTH_LOGTO_ID`:Logto 应用的 App ID
- `AUTH_LOGTO_SECRET`:Logto 应用的 App Secret
- `AUTH_LOGTO_ISSUER`:Logto 应用的 Issuer endpoint
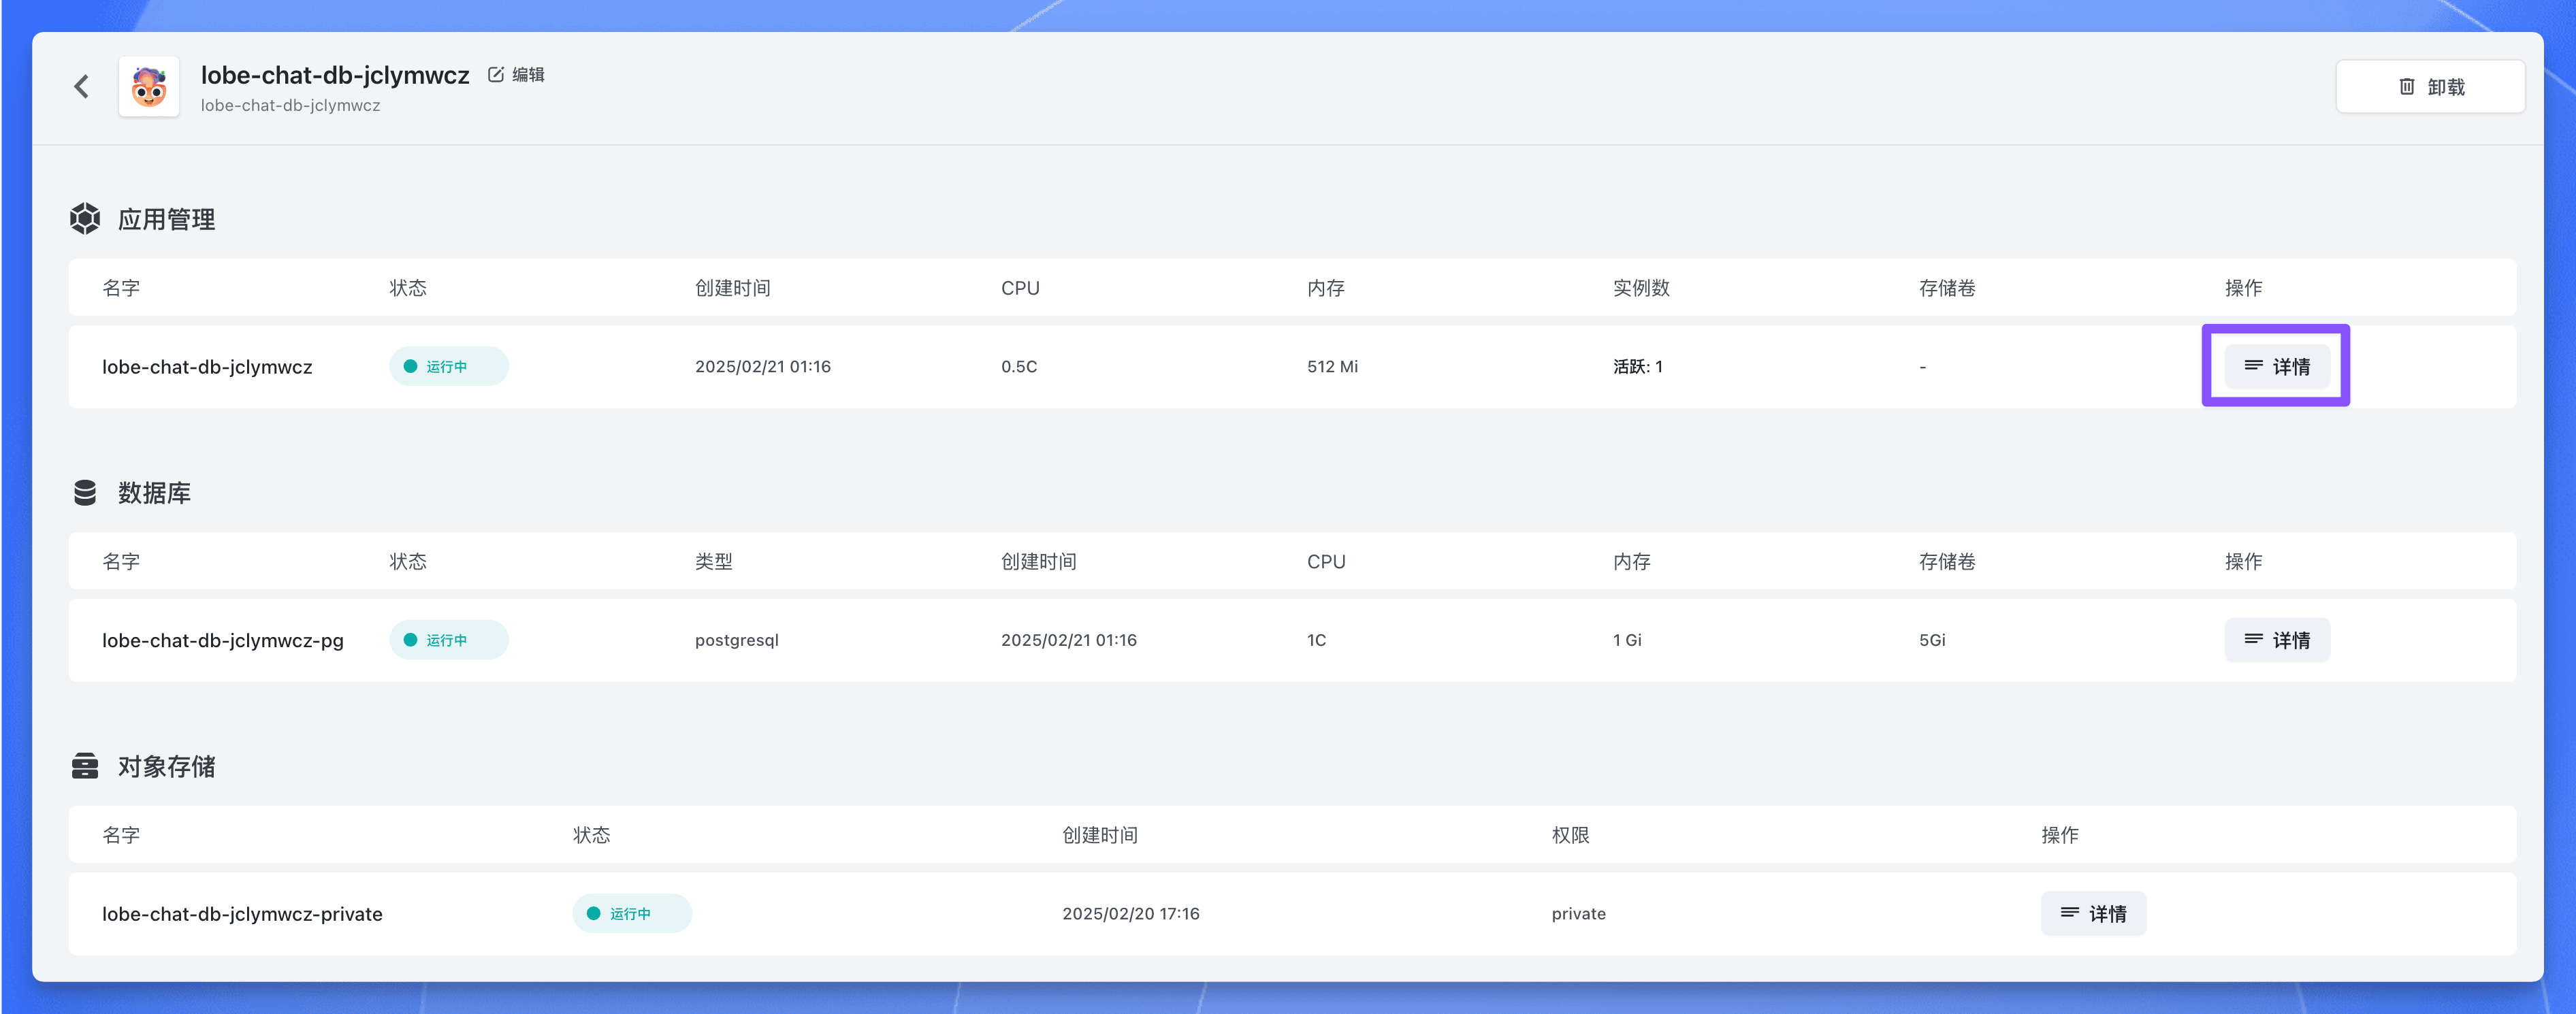
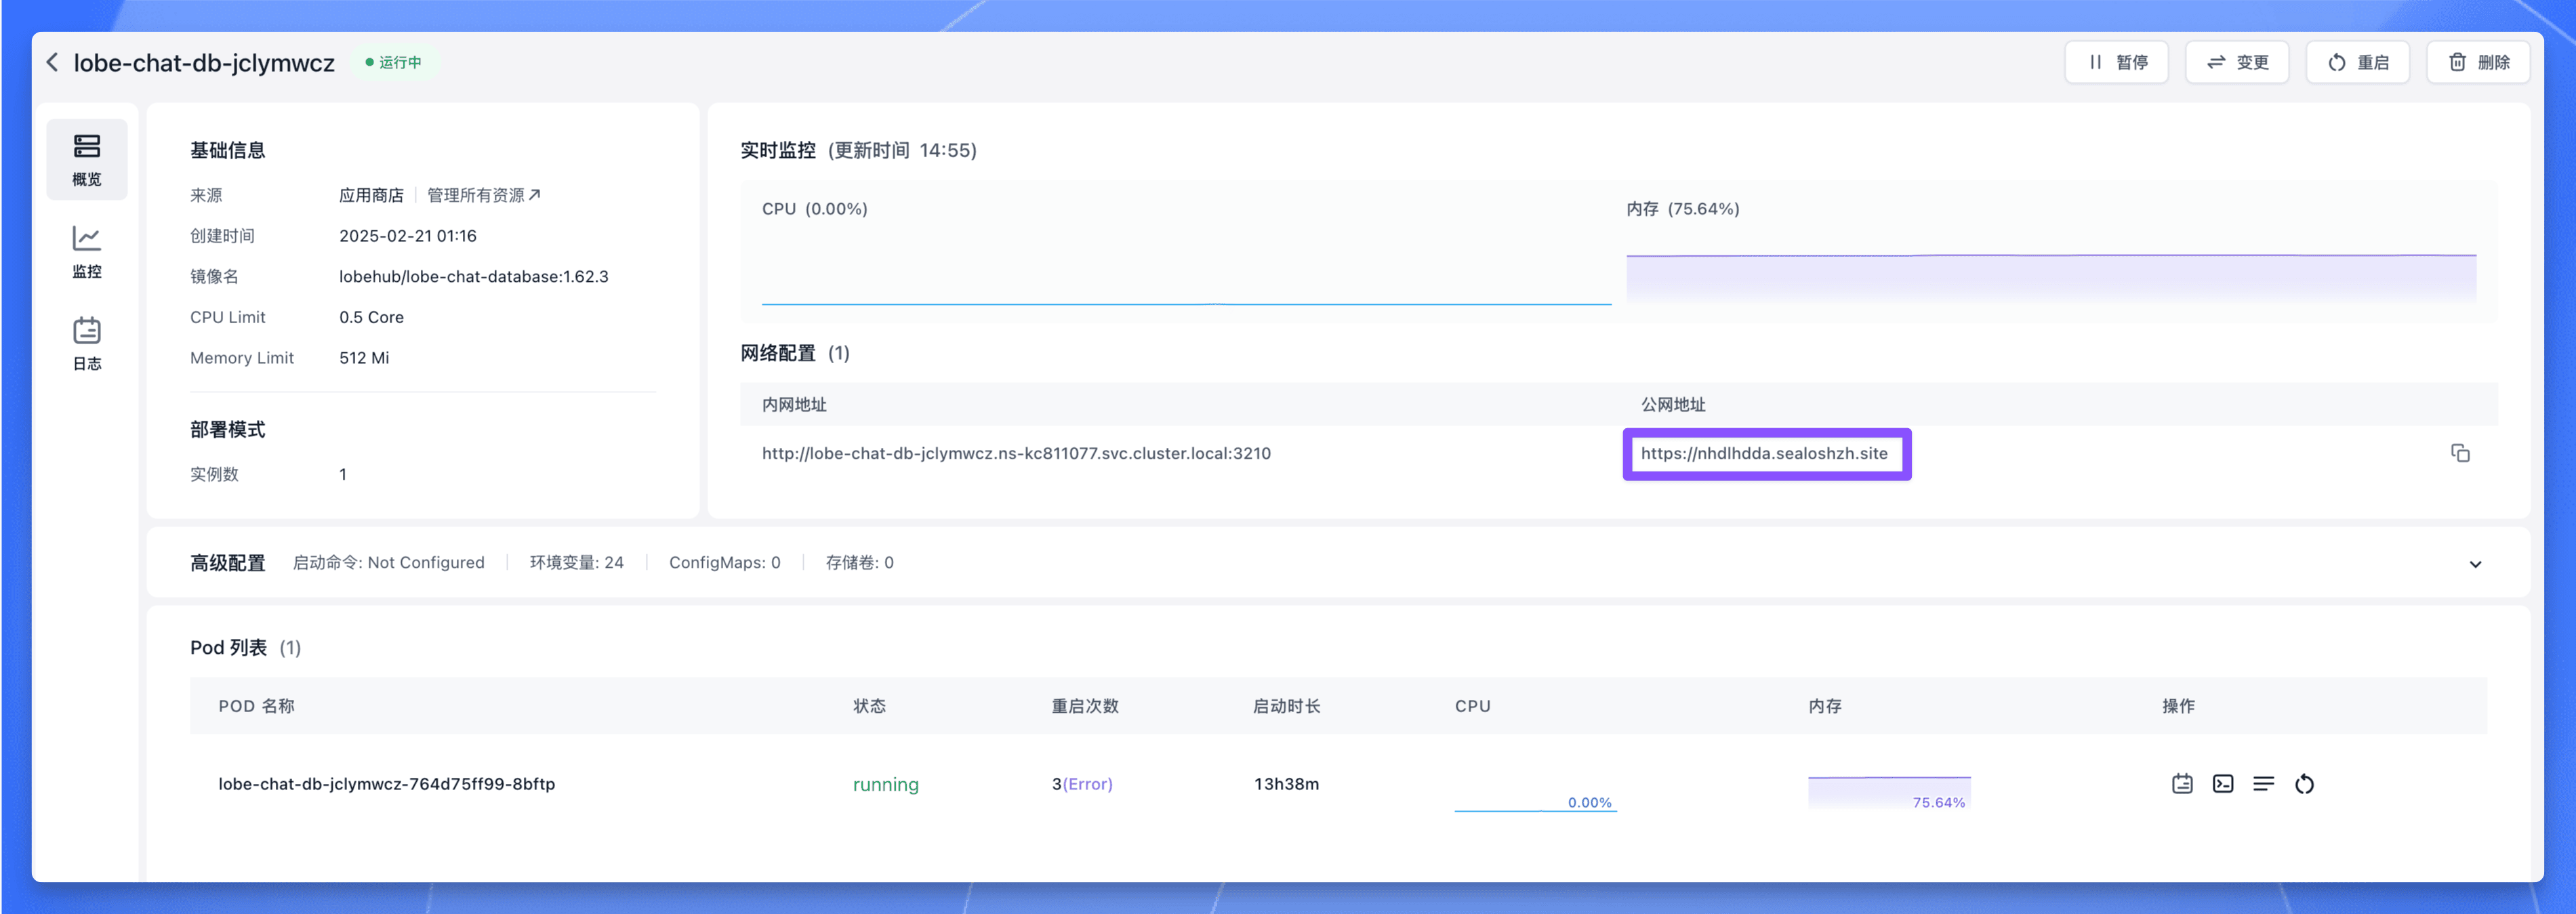
点击【部署】按钮,部署完成后,等待应用的所有组件状态都变成“运行中”,点击应用的【详情】按钮,进入应用详情页面。
找到公网地址,复制下来,后面需要用到。
## 部署后配置
进入 Logto 的 `Applications` 页面,找到 `Lobe Chat` 应用,点击进入应用详情页面。
在 `Settings` 页面中找到 “Redirect URI” 和 “Post sign-out redirect URI” 这两个参数,填入以下值:
- Redirect URI:`https:///api/auth/callback/logto`
- Post sign-out redirect URI:`https://`
其中 `https://` 为 Lobe Chat 数据库版的公网地址。
填完之后点击 `Save changes` 按钮保存配置。
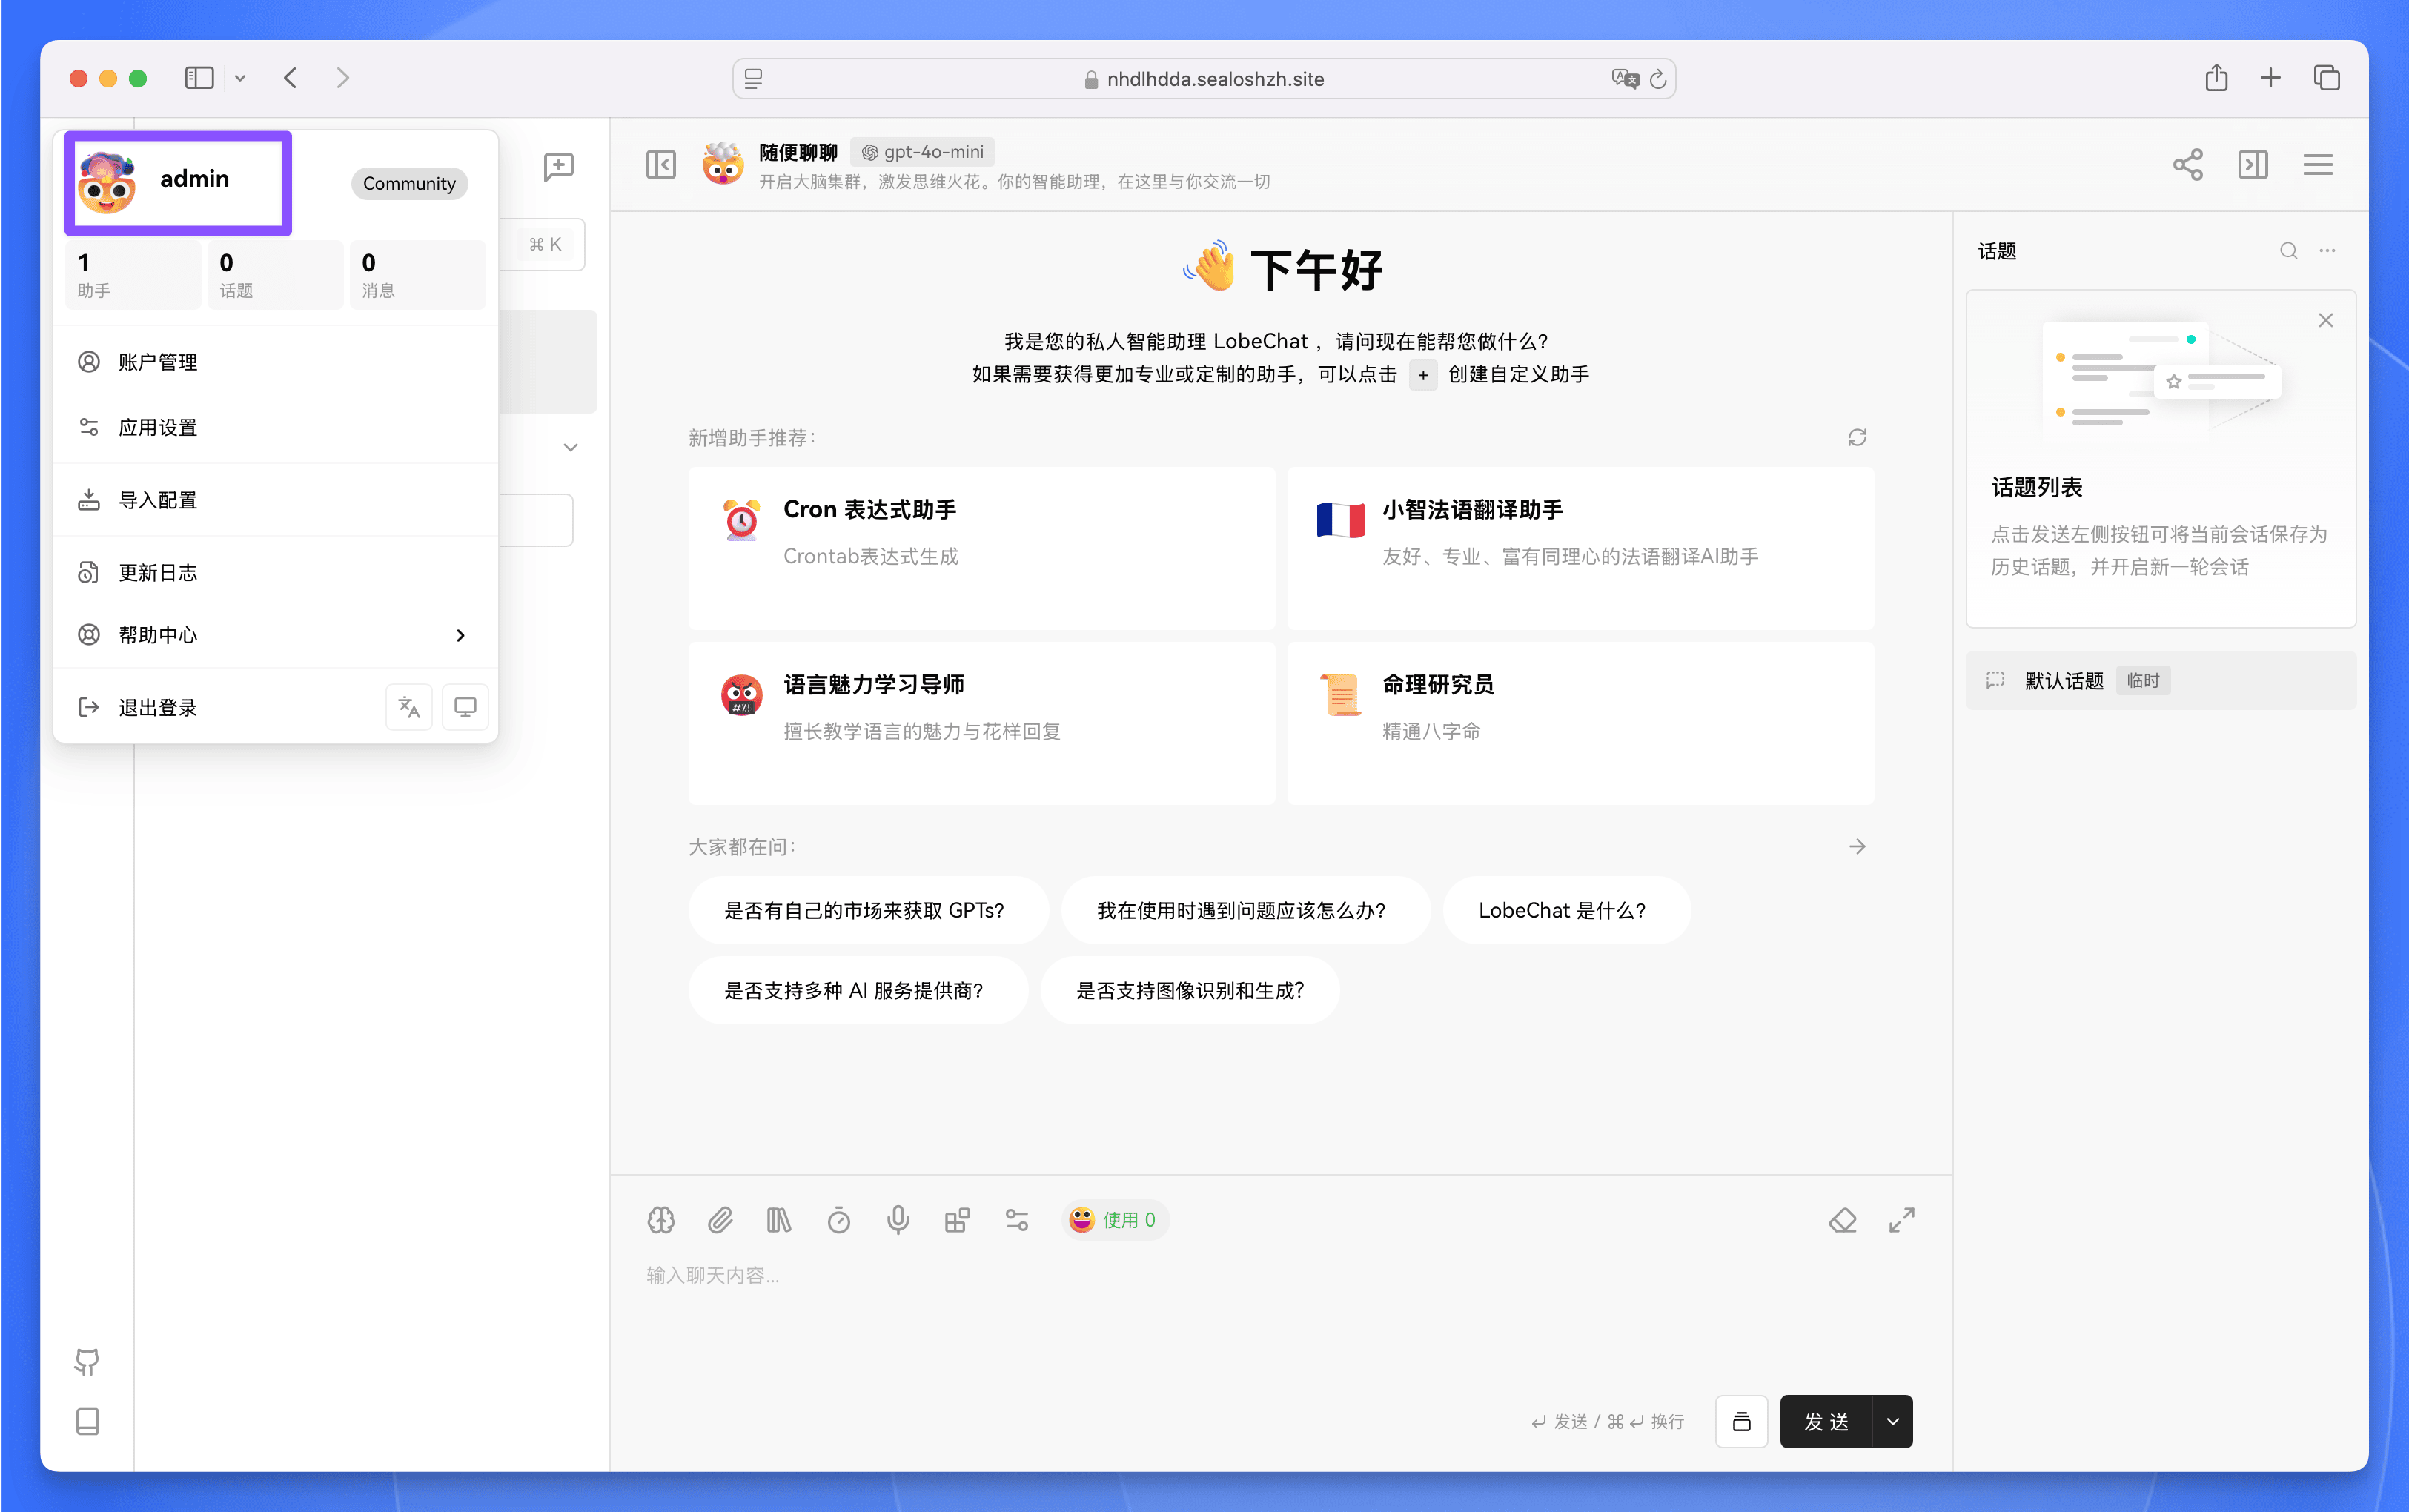
现在通过 `https://` 访问 Lobe Chat 数据库版,点击左上角的头像,然后点击【登录 / 注册】按钮:
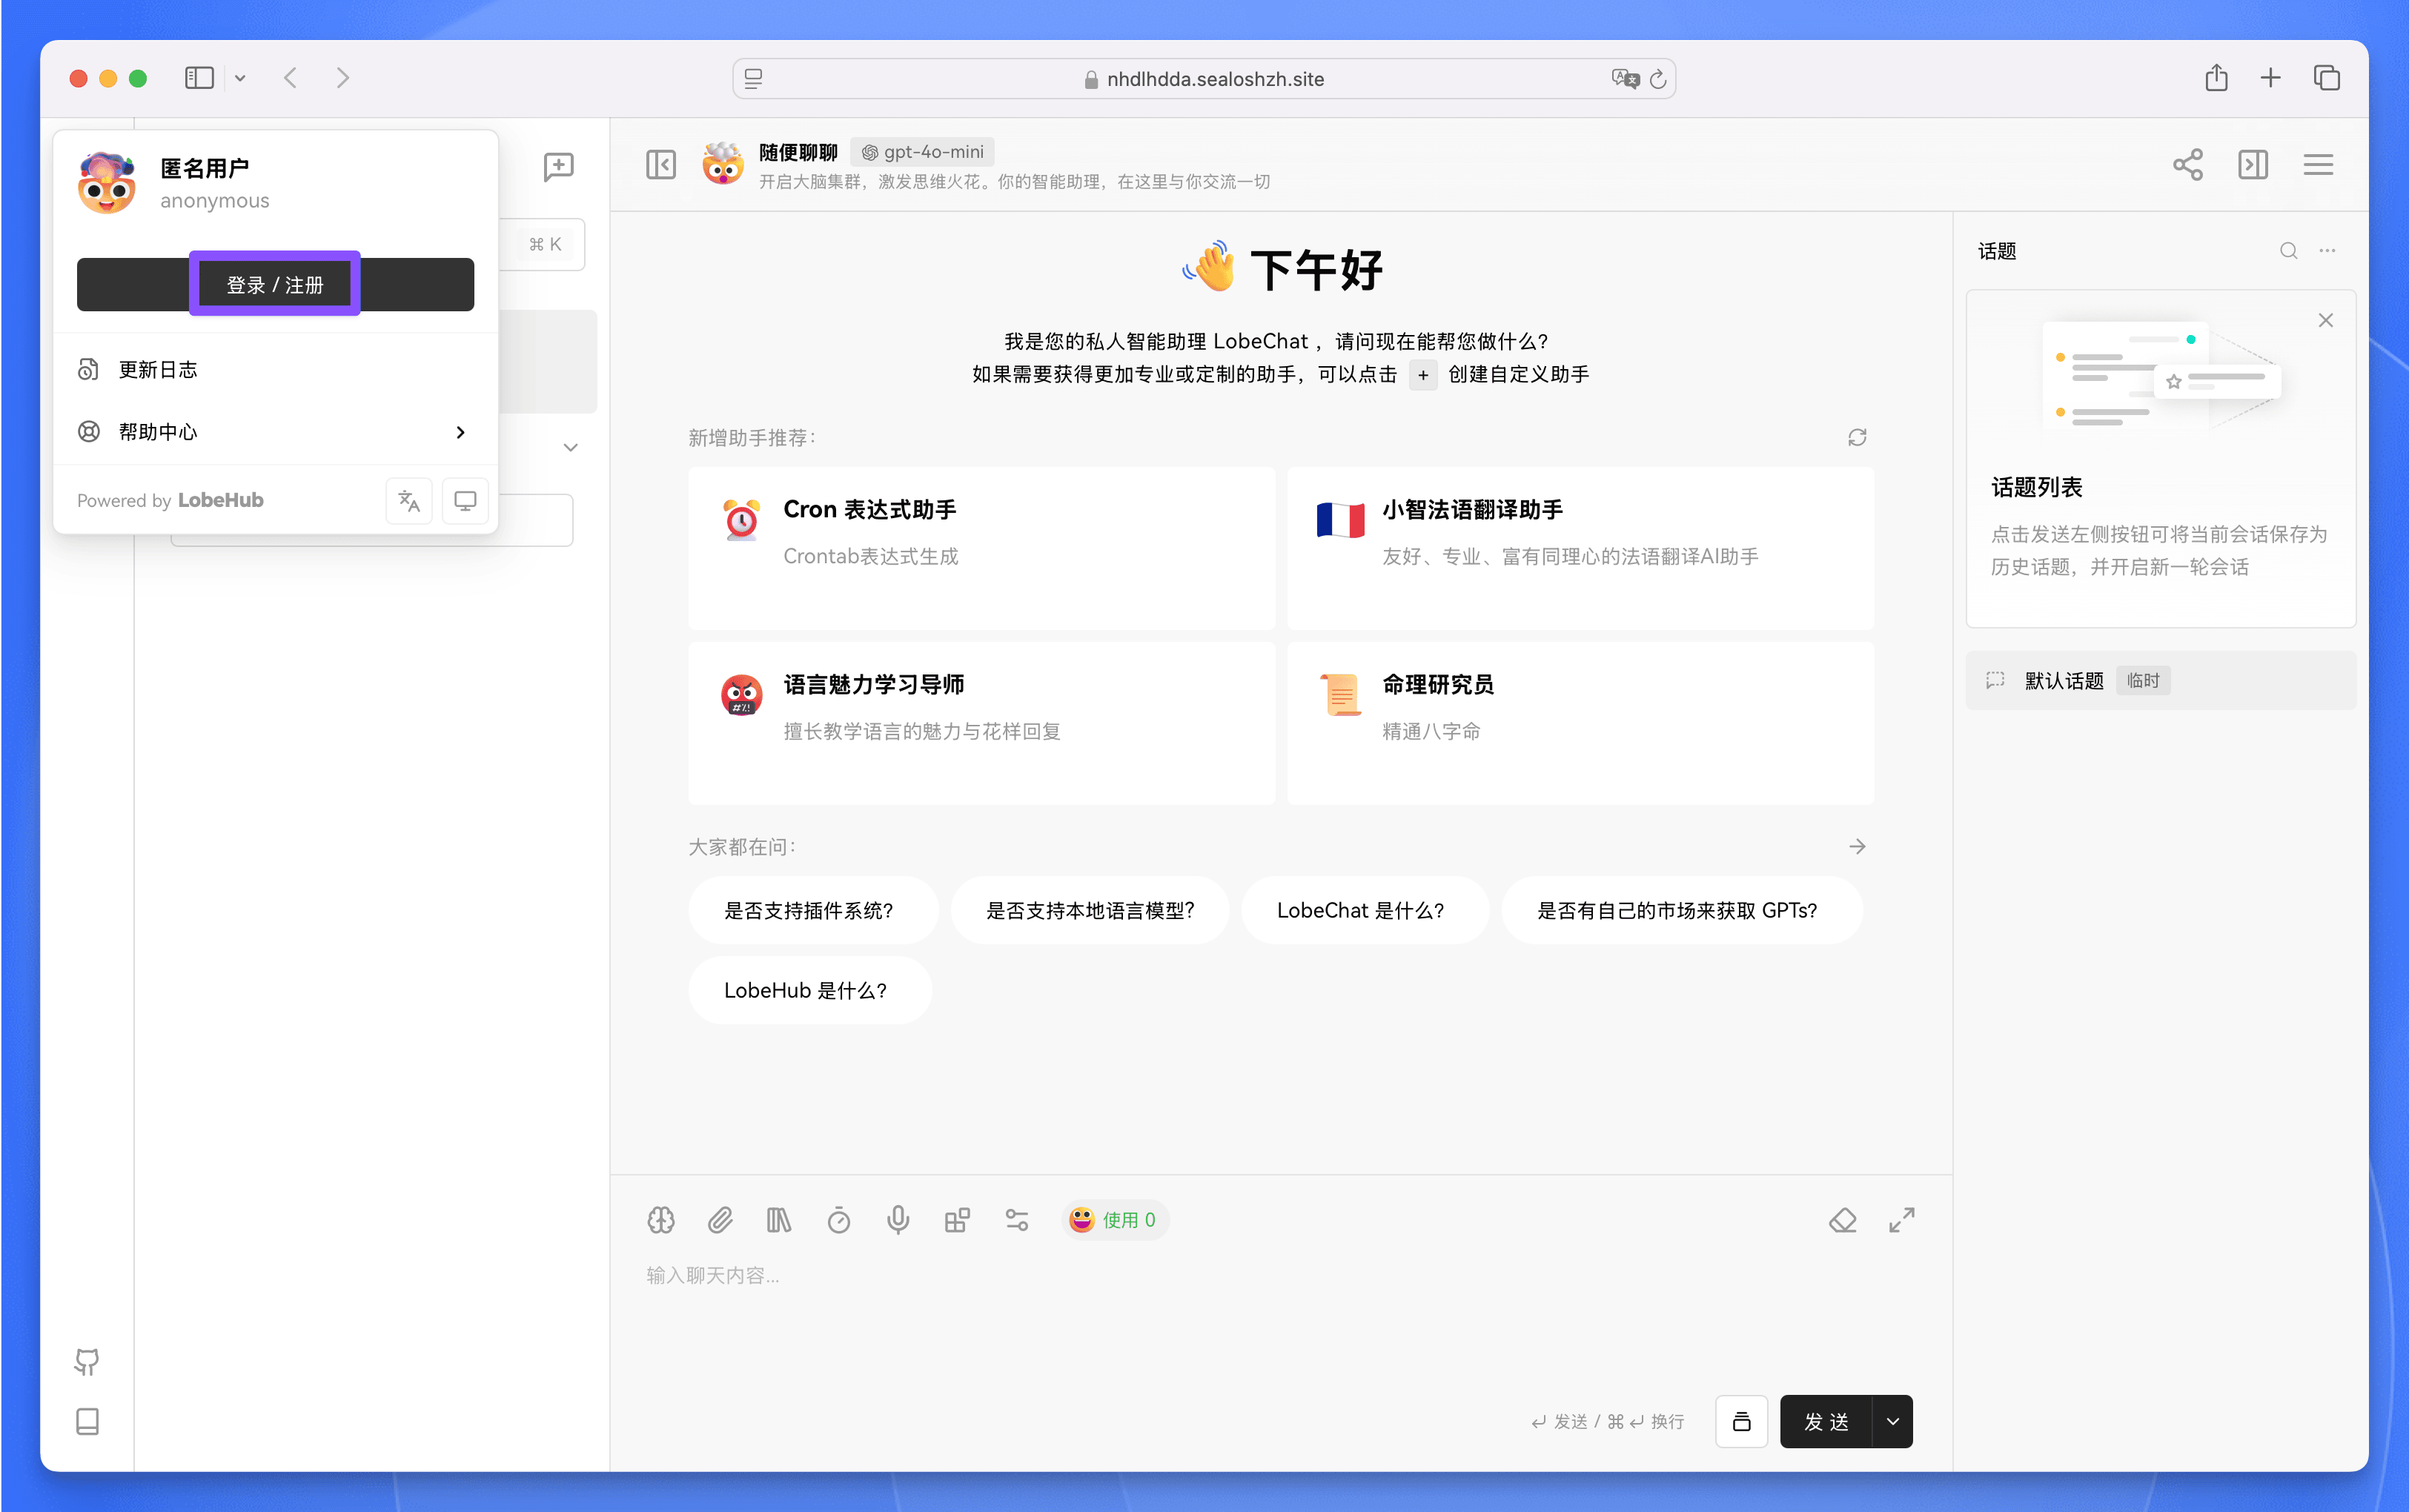
接下来会跳转到 Logto 的登录页面,点击【注册】注册一个账号。
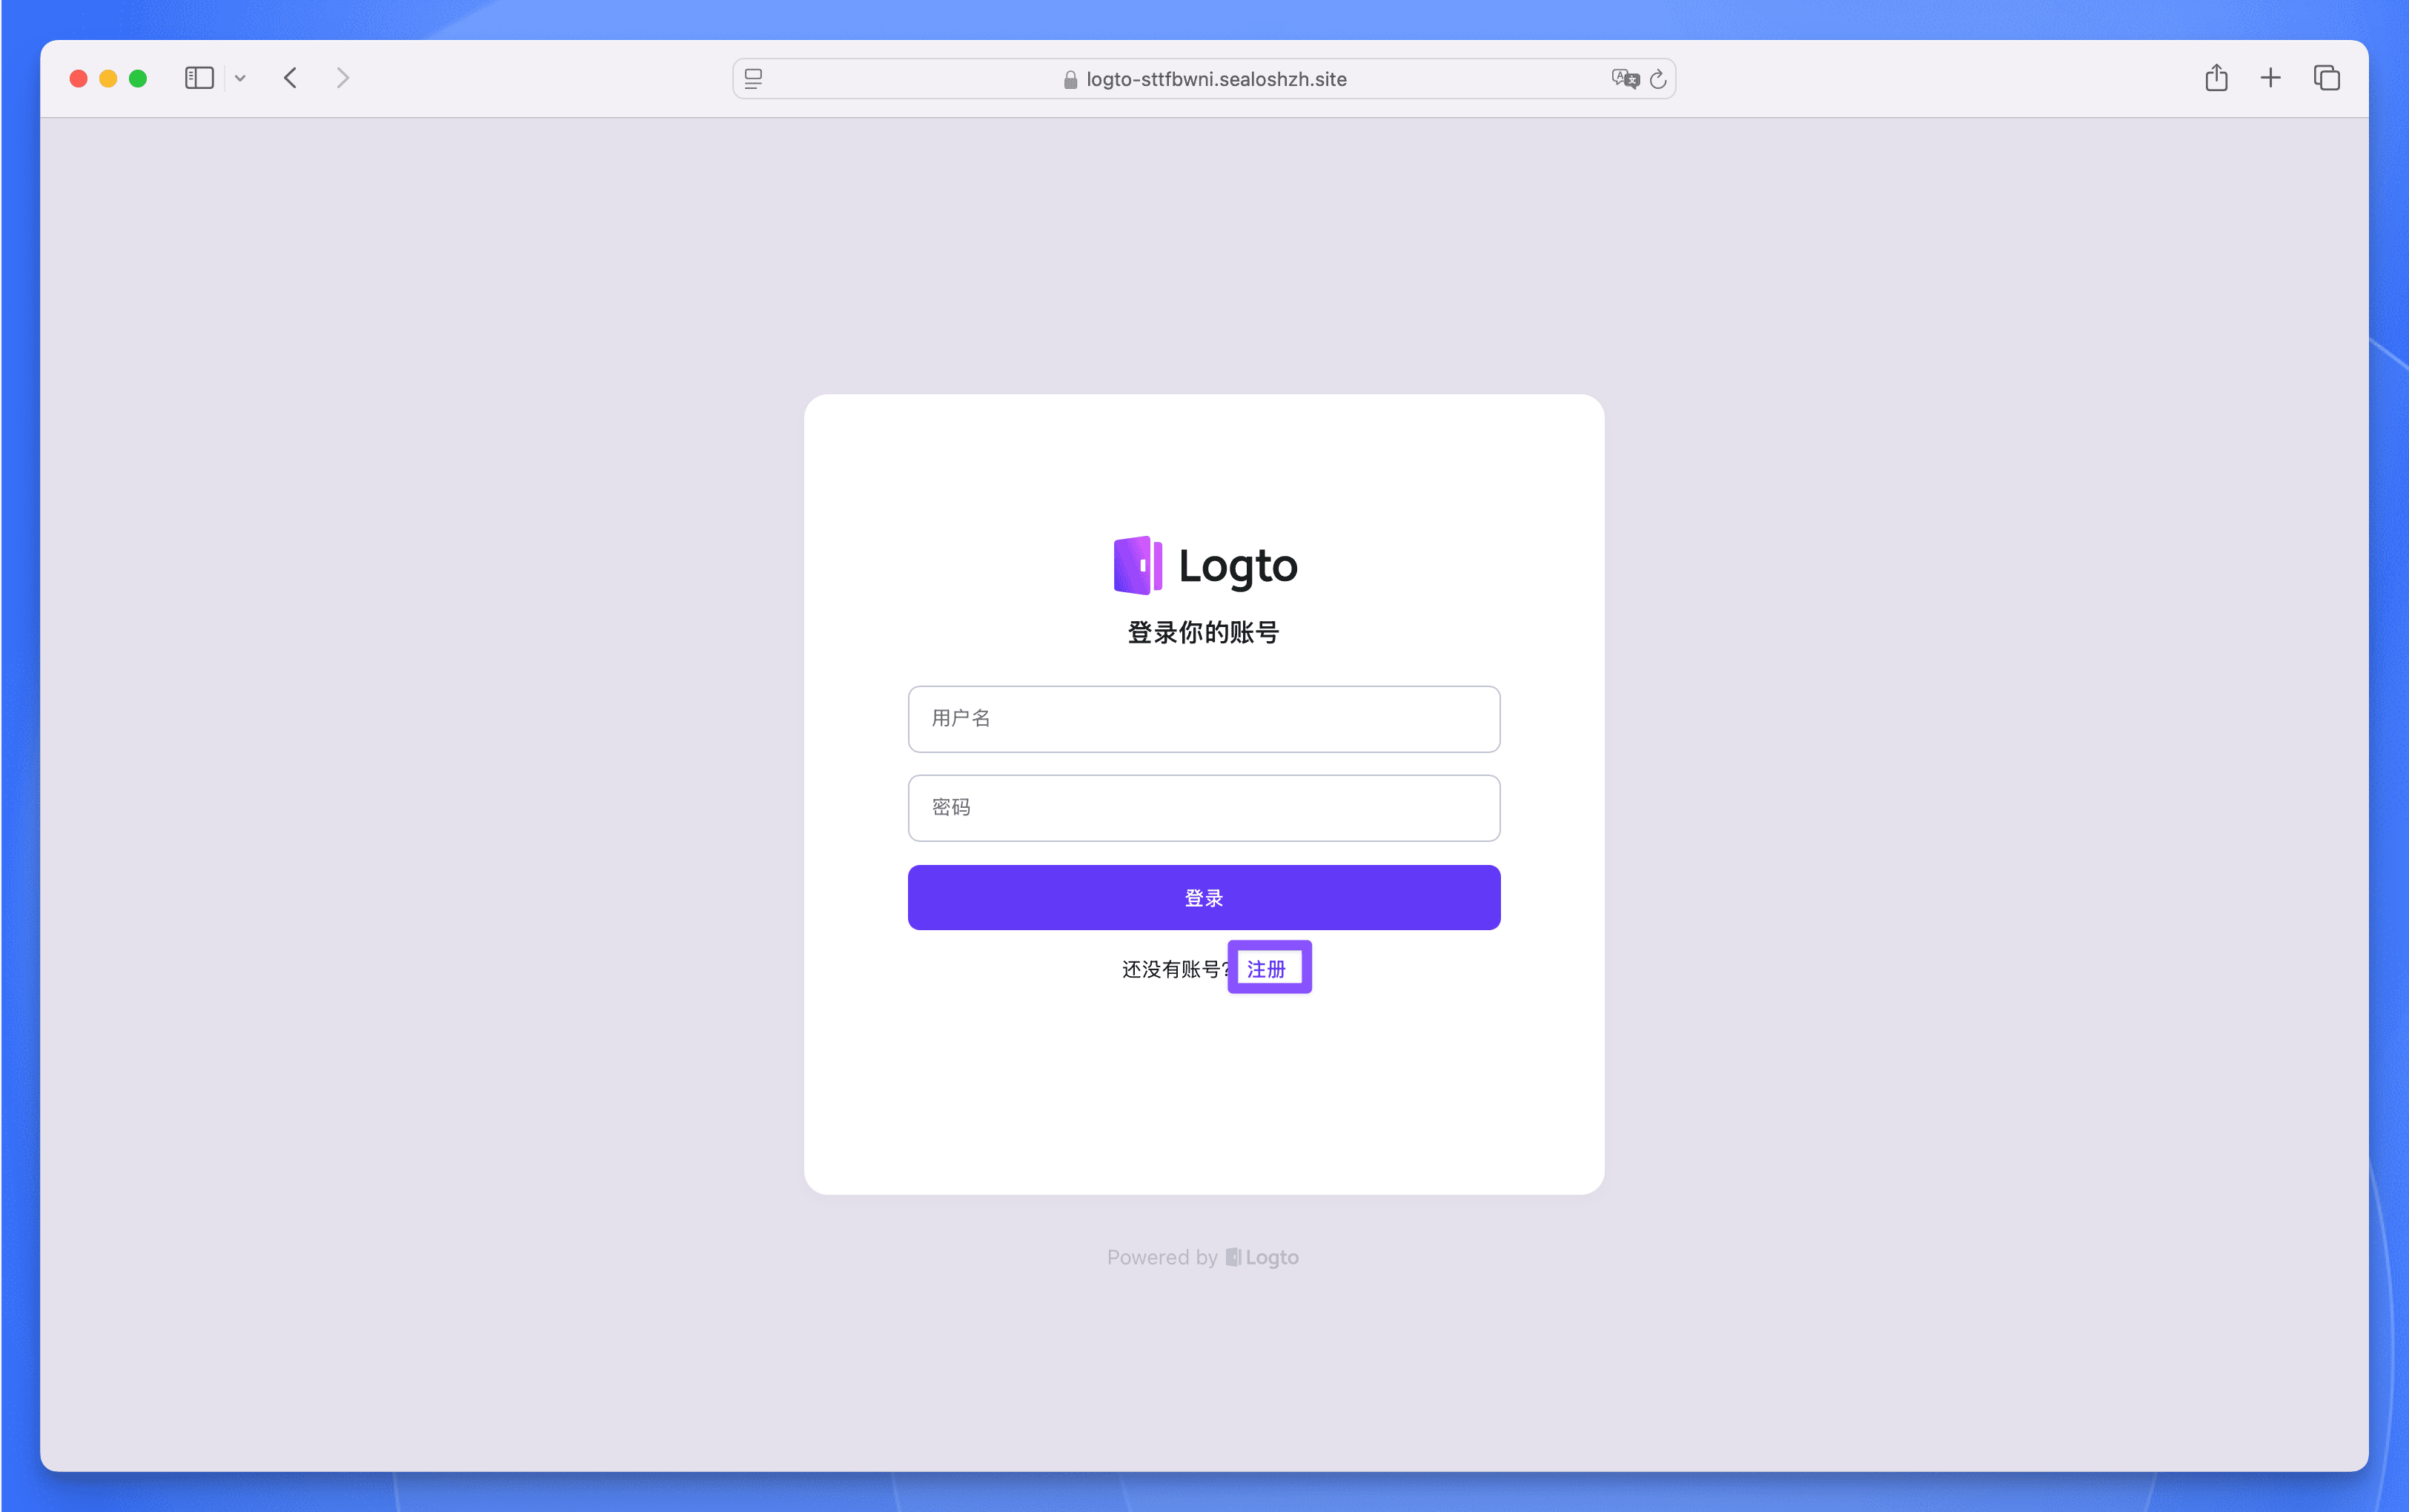
注册完成后,即可使用 Logto 登录 Lobe Chat 数据库版。